
Saving Money: How to Repair a Flat Roof Leak Yourself
The unexpected discovery of a leak in your flat roof can quickly escalate from a slight nuisance to a significant financial concern. While calling in a professional roofer is often the best course of action, there are simple leak repair steps that savvy homeowners can take with minimal tools and expense.
Here’s a DIY roofing guide to patching up that flat roof leak. Read on to ensure your home stays dry and your wallet intact:
Identify the Source
Locating the exact source of a flat roof leak can be tricky. Head up to the attic on a rainy day with a flashlight and look for water stains, mold, or damp insulation.
Trace the water trail up to points of origin, taking note of intersecting areas such as vents, chimneys, and skylights. Outdoors, assess the roof for any standing water or punctures in the roofing material. This detective work will inform the specifics of your leak repair.
Gather Materials
For minor leaks, you likely won’t need an extensive list of materials. Be sure to have on hand roofing cement, a trowel or putty knife, roof patching fabric or tape, a wire brush, and if the weather permits, a heat gun. These can be found at most hardware stores and won’t break the bank.
Clear Debris
One of the main culprits for flat roof leaks is the accumulation of debris. Clearing off leaves, twigs, and larger refuse will allow you to locate and seal the leak more effectively.
Be sure to dispose of all debris safely. Having debris fall or wash into your home’s gutters can lead to subsequent issues.
Prep the Area
Once you’ve successfully located the leak and cleared any obstructions, clean the area surrounding the leak with a wire brush. This will ready the surface for the application of the roofing cement, ensuring it adheres well and forms a watertight seal.
Apply the Patch
Use your trowel or putty knife to spread a generous amount of roofing cement over the area. Place the patching fabric or tape over the cement, pressing down firmly to remove any air bubbles and ensure a secure bond. Apply more cement on top of the patch, covering the edges and seams to fully seal the area.
Seal the Edges
For an extra layer of protection, seal any exposed edges or corners with additional roofing cement. This will act as a barrier against water seeping into any possible gaps in the initial application.
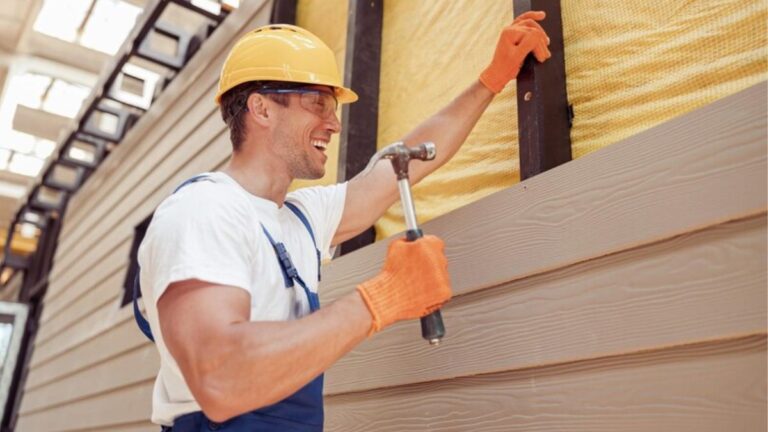
If Necessary, Call the Professionals
While minor leaks can often be handled by DIY home maintenance, more significant issues with your flat roof may require the expertise of a professional roofer.
If you notice multiple leaks, large tears or holes in the roofing material, or signs of structural damage, it’s best to consult with a pro for a repair. They will have the tools and knowledge to properly assess and repair the situation, providing you with peace of mind and a long-lasting solution.
A Flat Roof Leak-Free Future Is Possible
Don’t let a flat roof leak dampen your spirits or your home. With these simple DIY home repair steps and proper roof maintenance, you can keep your flat roof in top shape for years to come.
Keep an eye out for any potential leaks and address them promptly to avoid costly repairs in the future. Regularly inspecting your roof will not only save you money but also help protect your home from any surprises.
And remember, when in doubt, always consult with a professional.
Was this article helpful? If so, check out the rest of our site for more.